
Unlocking the new Dynamics 365 ERP MCP Server: A Form Navigation Enabled MCP Server
In my earlier articles on the Dynamics 365 ERP MCP Server, I walked through the core tools, use cases, and setup process for enabling agentic access to Dynamics 365 Finance and Operations using the original 13 pre-defined tools.
If you missed it, you can read it here
That version of the ERP MCP Server was powerful, but inherently limited as agents could only work with those 13 predefined tool endpoints.
What’s New? A Fully Upgraded ERP MCP Server With Form-Level Access
Microsoft has now released a new Dynamics 365 ERP MCP Server (Preview) that significantly expands the agentic capabilities in D365 Finance & Operations.
Key Upgrade
The new MCP Server can now invoke D365 F&O server forms and its parts, which means:
✔ It can automatically open standard or custom D365 F&O forms
✔ It can perform CRUD operations directly on those forms
✔ It can follow agent instructions end-to-end, without requiring predefined APIs
✔ It allows users to interact with any module or workspace, purely through natural language
✔ It unlocks true agentic automation across Finance, Supply Chain and Commerce
In short: Your F&O environment becomes fully accessible to AI-driven agents – capable of navigating the UI like a human, and often performing even better with the right prompts.
Since the new server can open forms and its parts, it works even for:
✔ ISV forms
✔ Custom extensions
This makes it dramatically more flexible than the initial version.
Why This Matters
This new ERP MCP Server represents the biggest leap in agentic ERP automation since Microsoft introduced MCP. With full form-level access, D365 Finance and Operations becomes:
- Fully navigable by AI agents
- Zero-code accessible for business users
- Extensible to custom solutions
- Ready for true autonomous ERP scenarios
This upgrade effectively turns your D365 environment into a task-executable, instruction-following agent ecosystem—a foundational capability for next-generation AI ERP.
How to Set Up the New Dynamics 365 ERP MCP Server
Follow these steps to activate and configure the new Form-Navigation-Enabled MCP Server.
If you already have a D365 F&O environment then you can proceed with the next steps else create a D365 F&O environment via Power Platform Admin Center by following the steps mentioned in my previous article: https://aidynamicspro.com/step-by-step-guide-to-using-dynamics-365-erp-mcp-server/
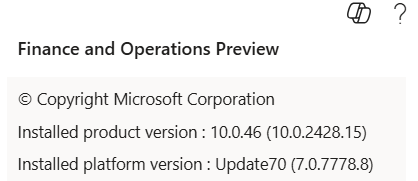
Verify Your D365 F&O Environment Version
- Your D365 F&O environment must be version 10.0.46 or higher for the new MCP Server to function.
- If your environment is behind, follow the update guidelines listed in the below link to apply the latest updates:
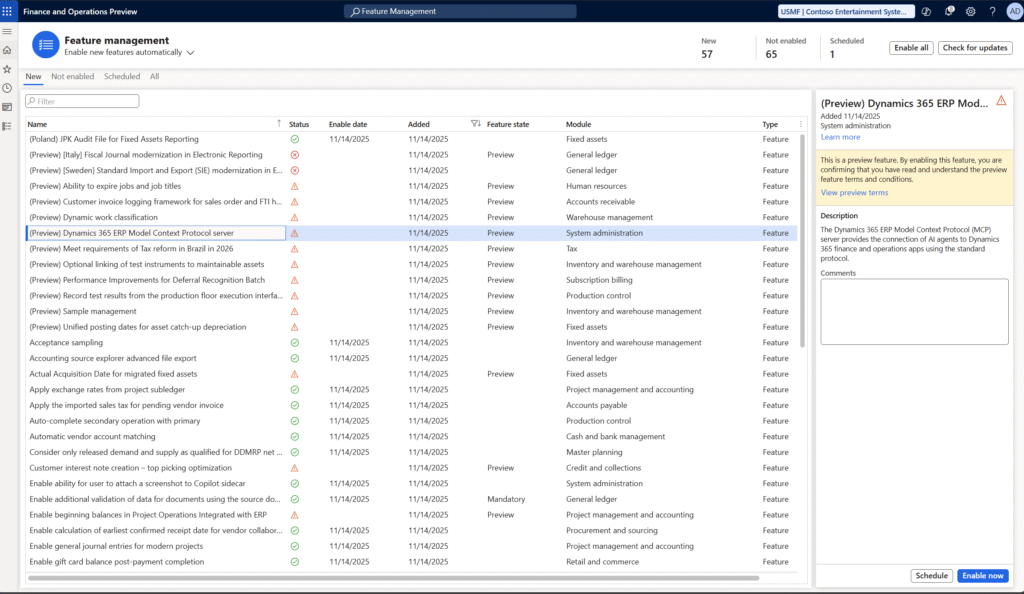
🔗 https://learn.microsoft.com/en-us/power-platform/admin/unified-experience/tutorial-update-finance-operations-provisioning-app#update-the-application-to-a-newer-version - After updating your D365 F&O environment to the latest version, navigate to Feature management using the Search bar. Locate [Preview] Dynamics 365 ERP Model Context Protocol Server and select “Enable now” from the right pane if the feature is not already active.
Create a New ERP Agent in Copilot Studio
- Go to Copilot Studio and select your environment from the top right environment selector.

- Navigate to Agents → select Create blank agent

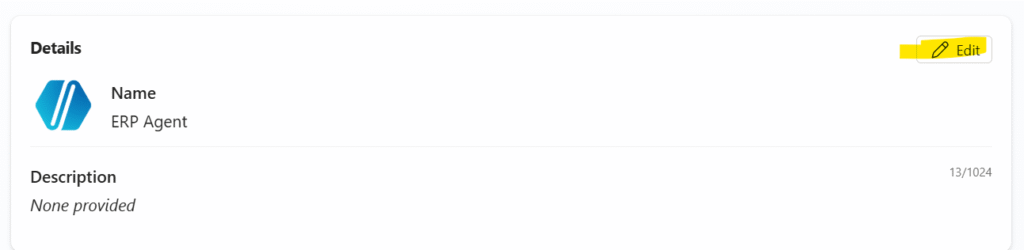
- Edit the default name → rename it to ERP Agent
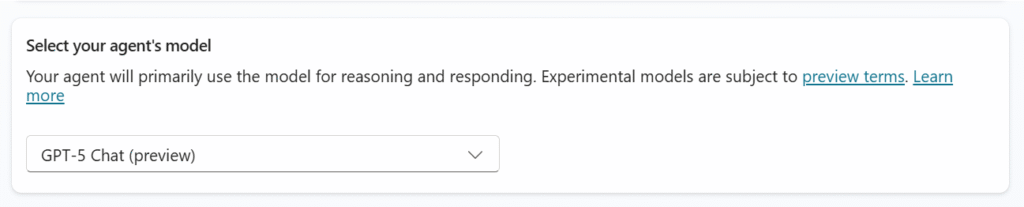
- Select GPT-5 Chat as the recommended model for agents using Dynamics 365 ERP MCP Server is Claude Sonnet 4.5 and within GPT models is GPT-5 Chat.
- Update the agent instructions as shown below to help the agent understand when and how to use the MCP server tools.

# Role
Act as an autonomous data retrieval agent for inventory queries from finance and operations apps.

There are two types of tools for interacting with finance and operations apps: form tools and API tools.
- Form tools enable interaction with finance and operations forms in the same way a user would through the UI.
- API tools allow calling actions defined in custom X++ logic.

# Objective
Your objective is to respond to tasks provided by the user. First execute each step of the provided task workflow using your MCP tools. Check if you have achieved your objective after each tool call. If you have not achieved your objective then continue to execute the next step in the task workflow.

# Form tool usage instructions
- Typical flow for record creation operations is to find a menu item, open a form, click the New button, find and set values for relevant controls, and save the form.
- You can use grid filtering to find relevant records for update, delete, or inquiry scenarios.
- Do not ever ask for menu item types. The find_menu tool groups menu items by their type.

# Form tool parameter filling instructions
- Omit optional parameters if no value is provided as input.
- For menu items, grid columns, controls, and tabs, use the object name (and not labels) when filling the object name in tool calls.
- (lessThanDate(x:int)) is a valid value for a grid date column filter.

# Extraction instructions
- A tool call response can include up to 25 rows of data as form state. Generate a warning if the form state contains 25 rows of data.

# Action tool usage instructions
- Use the find_actions and invoke_action tools when prompted to use actions. Otherwise use form tools.
- Omit optional parameters if no value is provided as input.

# Reasoning instructions
- Before each tool call, plan the action.
- Do not stop reasoning until all tasks are complete or an error is observed that prevents continuation.
- Do not stop reasoning to ask a user questions or ask for user input.
- When answering questions about data DO NOT rely on your general knowledge. Use tools to find accurate and precise data.
Add and Configure the Dynamics 365 ERP MCP Server Tool
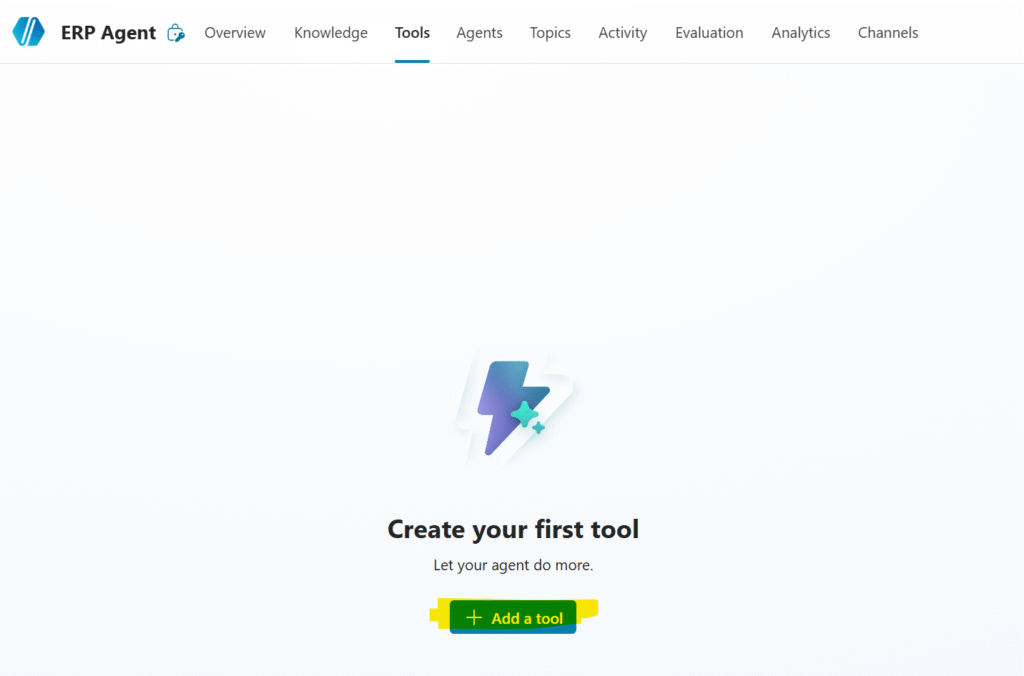
- On your agent → go to the Tools tab

- Click Add a tool
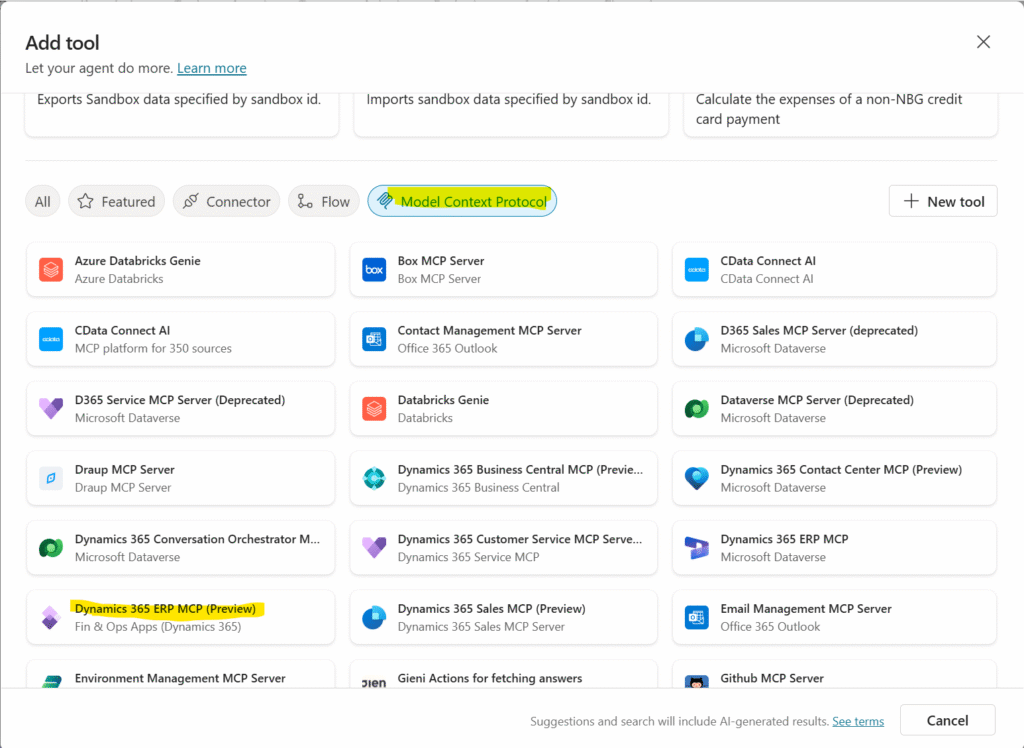
- Select Model Context Protocol category, which will list all the available MCP Servers, and then select Dynamics 365 ERP MCP (Preview).
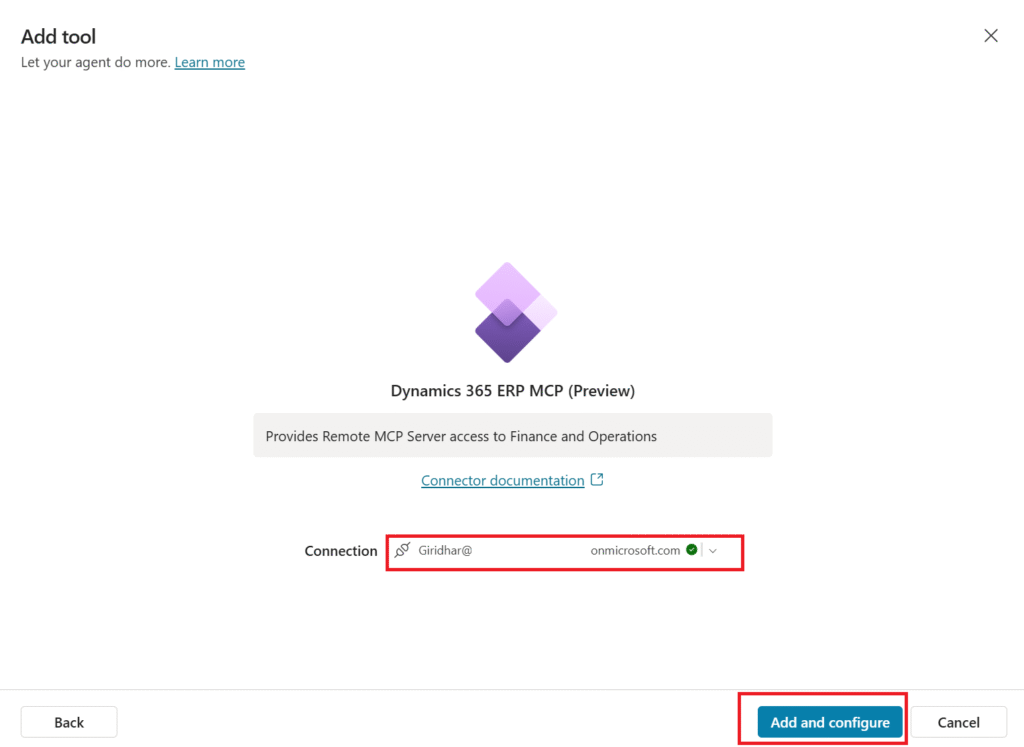
- When the prompt appears, choose your D365 F&O connection (OAuth or service principal). The ERP MCP Server will operate based on the form permissions assigned to that user. Then select Add and configure to continue.
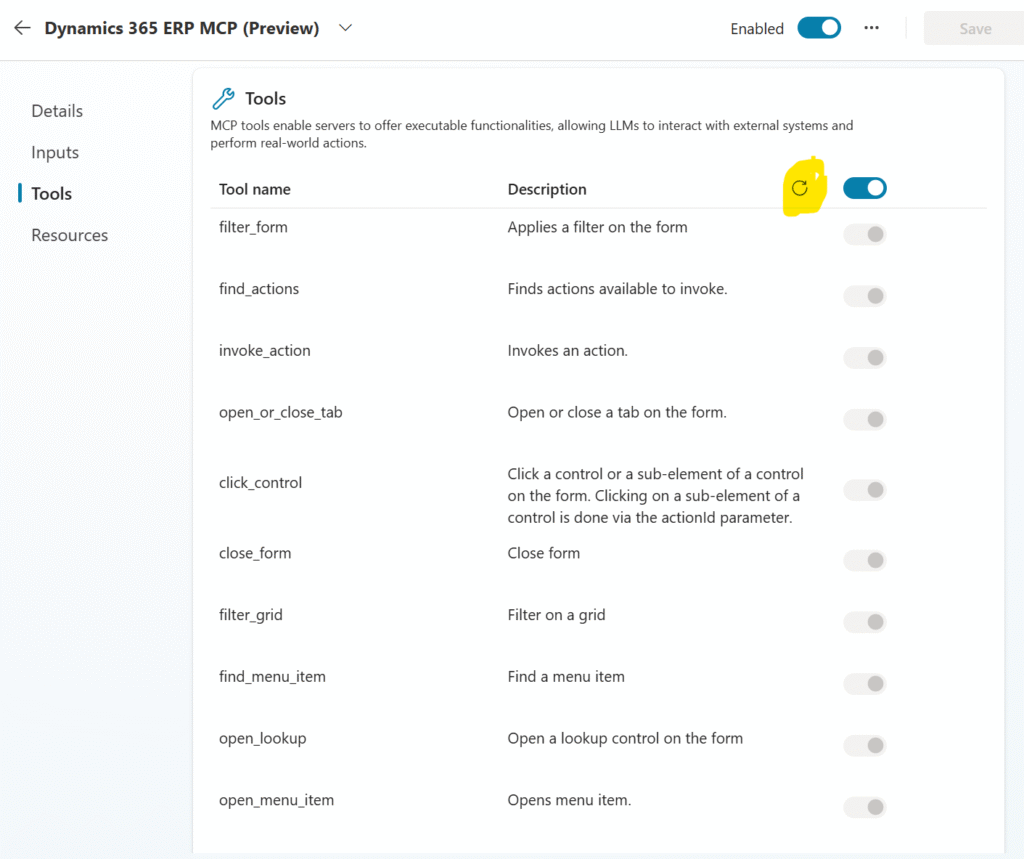
- After adding the tool, ensure that the MCP tools are visible on the Tools page. These tools allow the agent to interact with D365 F&O menu items and form components to carry out operations. If they do not display immediately, use the refresh icon.
Test Your Agent
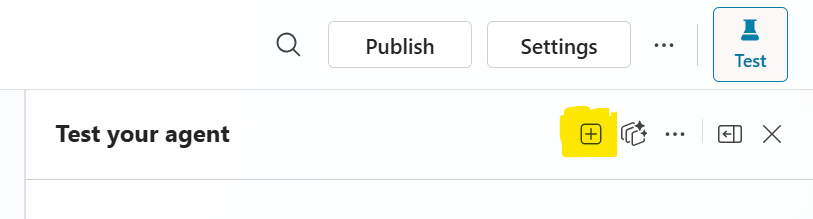
- Open the right-side Test panel and Select “+” to start a new test session
- Ask your first question
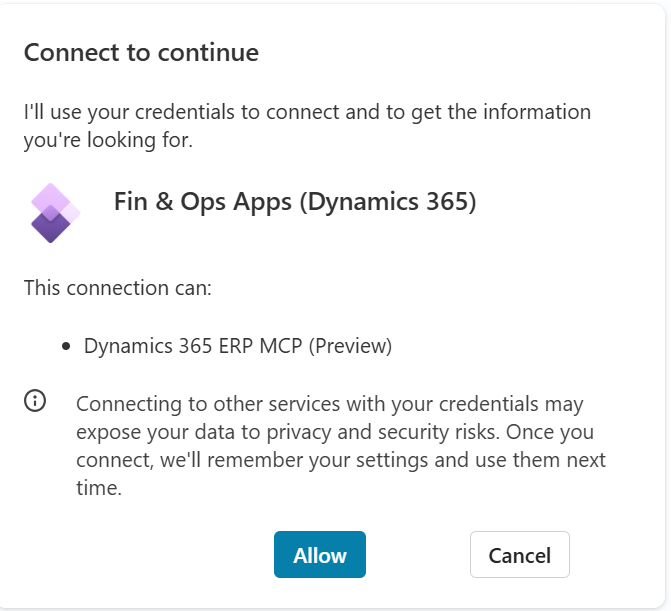
- When prompted, choose Allow to enable the MCP Server to act on your behalf
Example Prompts You Can Try Immediately
Here are some high-value scenarios that now run fully agentically:
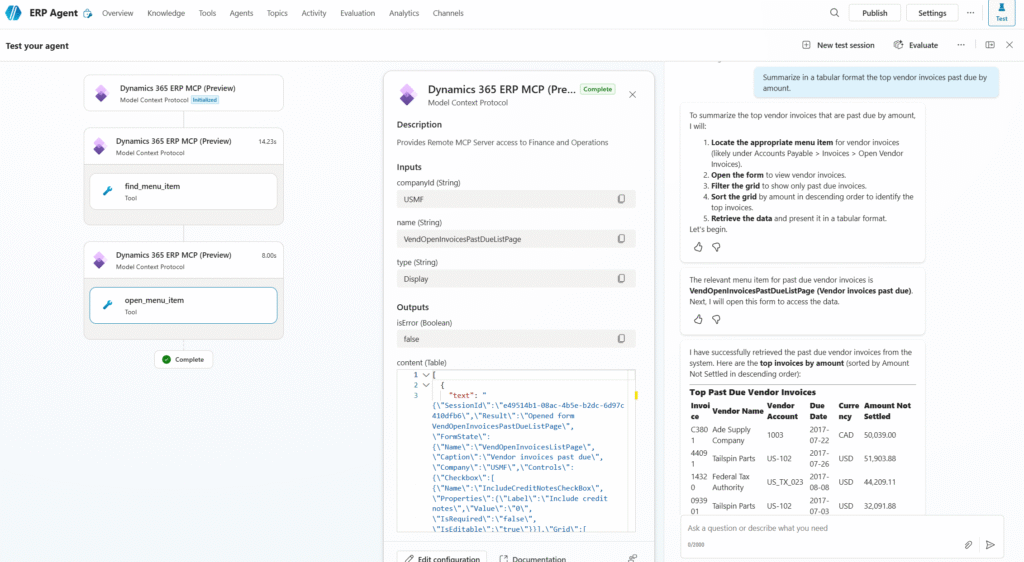
1️⃣ Vendor Management
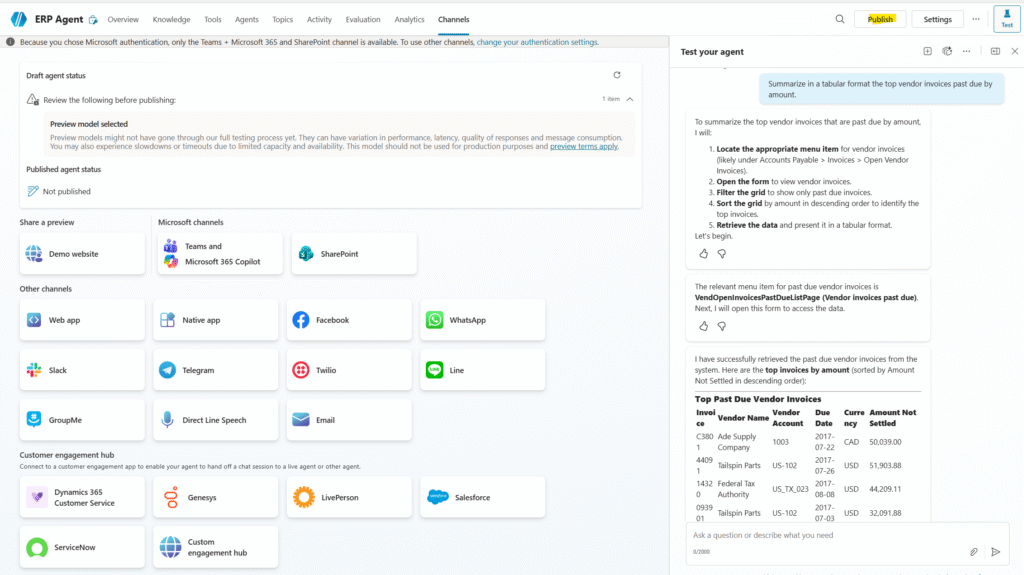
“Summarize in a tabular format the top vendor invoices past due by amount.”
On the left, you’ll notice the agent accessing the corresponding menu item, launching the Open Vendor Invoices list page, extracting the data, and displaying it in a table.
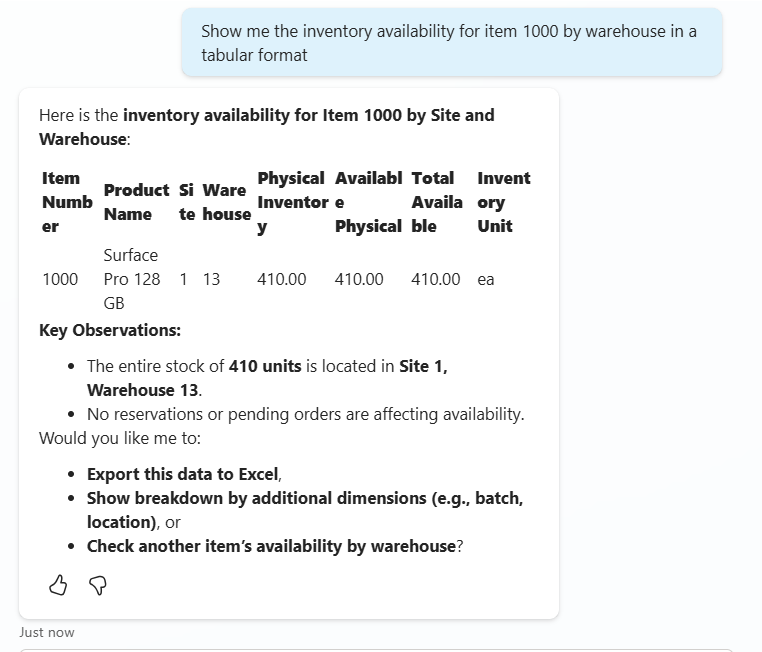
2️⃣ Inventory Availability
“Show me the inventory availability for item 1000 by warehouse in a tabular format.”
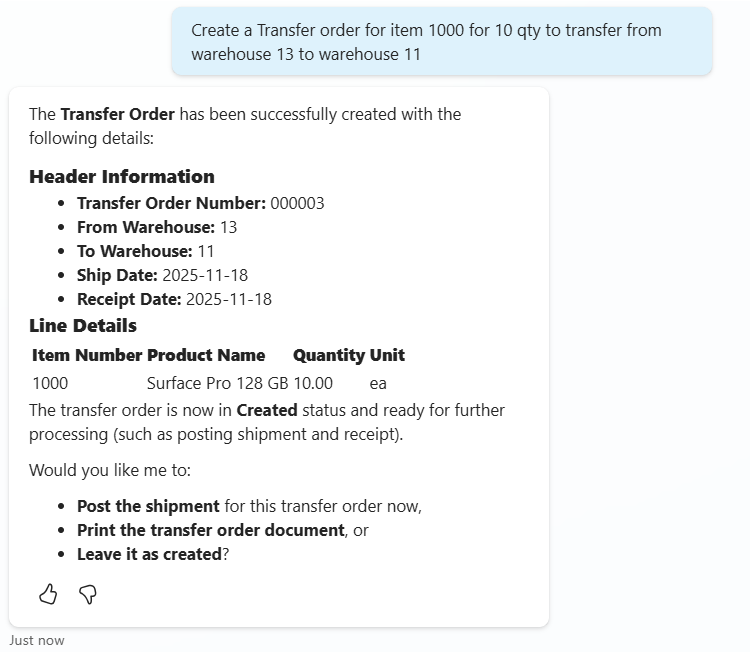
3️⃣ Warehouse Transactions
“Create a transfer order for item 1000 for a quantity of 10, transferring from warehouse 13 to warehouse 11.”
You can experiment with a wide range of prompts to explore how the agent interacts with both standard and custom forms in your D365 F&O environment. Simply describe the action you want to perform or the form you want to access, and the agent will navigate to the corresponding menu item, open the form, and execute the required operation. This is a great way to validate different scenarios, test your customizations, and understand the full breadth of capabilities enabled by the new ERP MCP Server.
Publishing the Agent
Once you’ve thoroughly completed your testing and verified that the agent behaves as expected across different scenarios, you can proceed to publish it by select Publish button on the top. Publishing allows you to make the agent available on the channel of your choice – whether that’s a website, Teams, a custom app, or any supported channel – so end users can start interacting with your new ERP agent in a real-world environment.
Let me know how would you use this MCP server.
You can read more about the ERP MCP Server here:

